saving the earth, one receptacle at a time

It was about this time last year when we converted a few empty spice jars into decorative mini-vases...recycled-upcycled-repurposed little beauties that have since hosted a variety of pruned buds instead of adding to our planet's overburdened landfills. This week, we've been playing with glass again, not in a shard-filled ball pit kind of way--'cause that sounds fairly hazardous and, frankly, asinine--but by means of an earth-friendly, home-enhancing endeavor that just about anyone can do.
In our home, we're big believers in reducing waste and pollution. We recycle anything that our local facilities are equipped to recycle. Unneeded items in good condition, we donate rather than discarding. We combine errands into single trips, reducing car emissions, and burn our wood stove only a few times each winter, only in the most frigid temperatures when it's paramount to our well-being. We're mindful of our water usage too. And we're regularly finding alternate uses for everyday items that might otherwise wind up in the trash. Sturdy gift boxes have been re-covered and turned into decorative storage bins. Old plastic food containers now organize smaller, easily tipped over items in cabinets. Worn or outdated furnishings, picture frames, and other decor get the full makeover treatment: refinished, repainted, embellished, or otherwise recreated into something artsy and new. It's good for the planet. It's good for our home...and our budget. And it's good for us too, as these projects are frequently enjoyable and always rewarding. Dennie even helped with the latest one, painting the metal lid for me while I finished curing the glass.

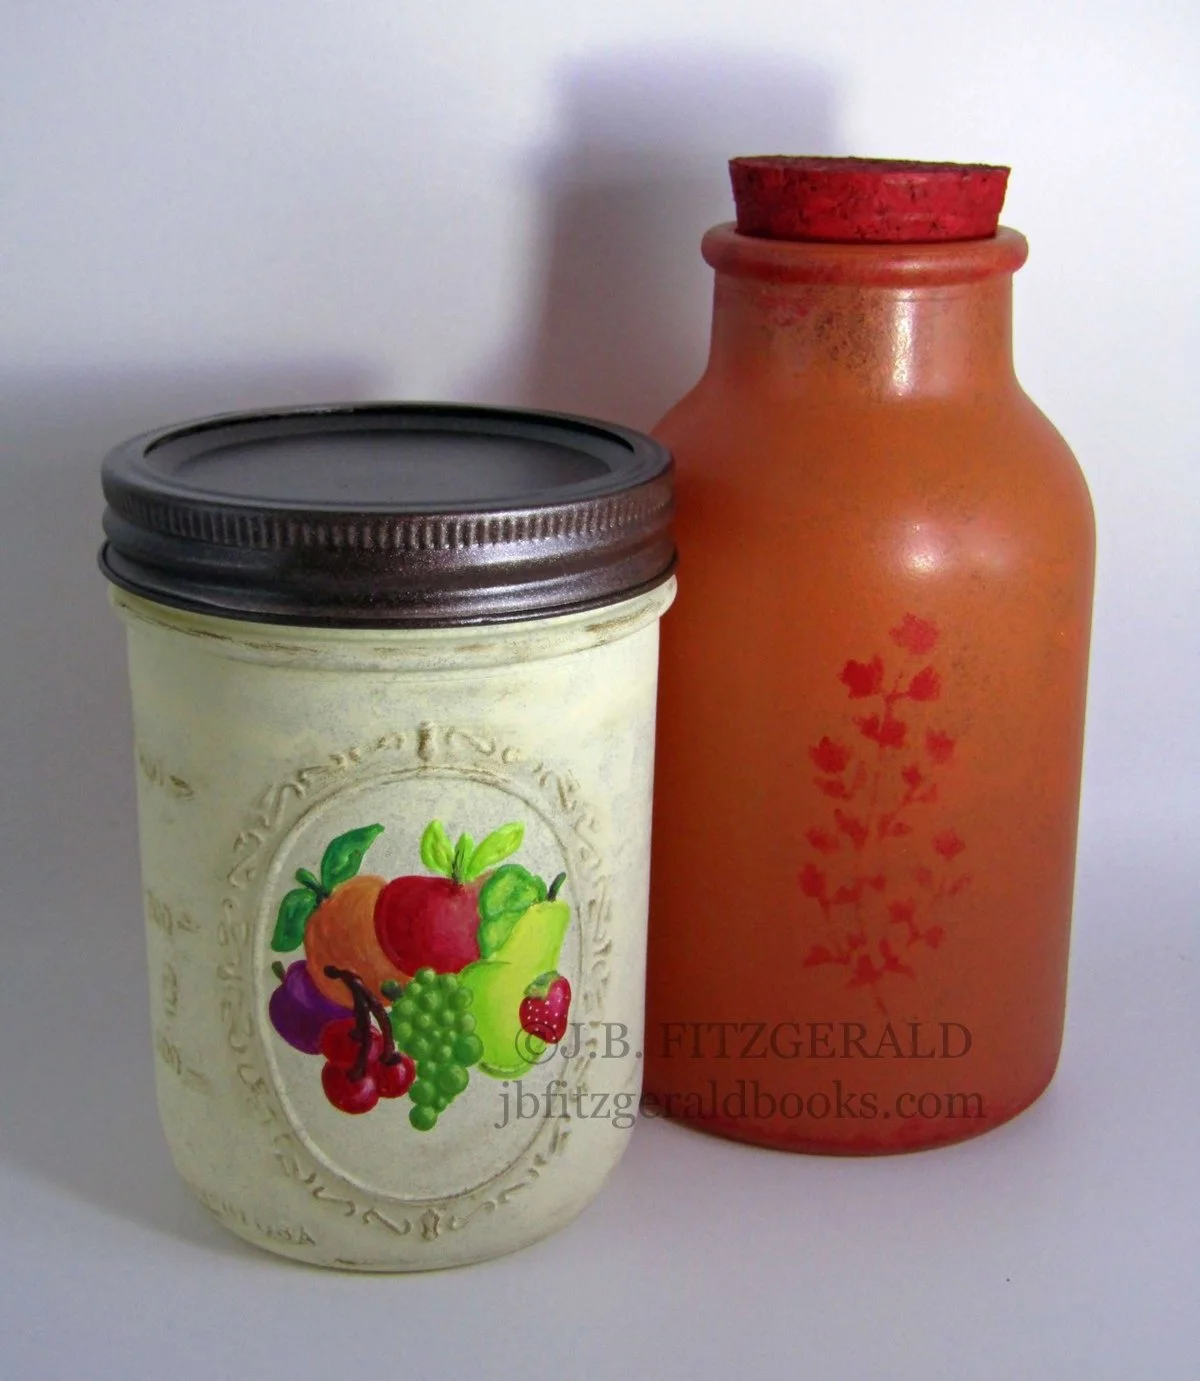
While we have nowhere near enough room to store every glass receptacle that delivers thirst-quenching liquids or flavor-enhancing condiments to our table, jars and bottles with creative potential--those with a little extra character--are the ones that avoid the bumpy, clinking journey to the recycling center. In addition to repurposing spice jars on multiple occasions, in 2015, two honey mustard bottles and three Starbucks Frappucino bottles became colorful, paint-spattered objets d'art visible through the glass doors of a kitchen cabinet. Three years later, I turned an ordinary canning jar into a vintage lotion pump. In 2024, another clear bottle, another clear jar were destined to fulfill their designated kitchen storage purposes with a brand new look, while simultaneously providing this online tutorial for any of you who might also wish to elevate ordinary glass to extraordinary new levels. It's not difficult to do. It takes only minimal supplies and a bit of patience.
For a simple translucent hue or a multi-toned opaque finish, you'll require nothing more than craft paints and a small, malleable sea sponge, as well as your choice of oven-safe glass items. For more elaborate designs, you may need assorted craft brushes, toothbrushes (for a spattered look), or even stencils and stencil brushes, if you prefer. Bear in mind, not all paints are suitable for this type of work--some could even prove dangerous. (Also, not everyone will be amused to reach for a toothbrush with globs of cadmium yellow in the bristles, so best to have one clean brush set aside solely to fulfill your inner muse's spattering needs.)
If you already have a variety of glass paints, these are formulated specifically for glass adhesion, so obviously they're a great choice. Most take about twenty-one days to dry permanently, but this process can be accelerated by baking the finished product in the oven. You should always follow the manufacturer's directions precisely if you wish to do this. I, on the other hand, don't do enough glass painting to justify having these specialty paints among my art supply stash, so, in this blog post, I'll walk you through painting with acrylics instead.
Because acrylic paints are water-based, they are notoriously reluctant to stick to glass, but these inexpensive craft paints will work just fine as long as you don't water them down and you do follow these instructions. Performing the Hokey-Pokey between each step is not strictly necessary, but it will give me--and any bystanders--a good chuckle, so knock yourself out. (And don't forget to share the video.)
Before beginning this project, make sure your glass items and chosen paints are oven safe.
Remove labels from glass jar or bottle. Wash and let dry thoroughly. This would also be a good time to put your right foot in, to take your right foot out, to put your right foot in and shake it all about...
Line an old cookie sheet with foil or wax paper. (If you're a little dizzy from turning yourself around, maybe wait a few moments. The serrated tearing edges on those boxes can be awfully sharp.)
Choose your base color and squeeze a little bit onto palette (see hints section below for an earth-friendly, repurposed goods alternative). Dip sponge gently into paint. With a feather-light touch, dab the sponge to the jar with quick random movements until entire surface is colored in a thin, even coat. Be careful not to go over a painted area twice as you'll only end up peeling off what you've already painted. The first coat will give your bottle or jar a translucent hue, which is lovely if the finished item will be displayed someplace where light will shine through it or if you intend to add string lights to the inside. But if it's a solid, opaque finish you're after, that's doable too, so long as you wait long enough between coats.
If you're happy with your translucent color, set it aside until tomorrow and skip to step five. For a darker or more opaque shade or to blend in another color or two, wait until paint (and cleaned sponge) are completely dry. Depending on your climate, acrylics will usually feel dry to the touch in less than an hour, but when painting on glass, you want to make sure that paint has thoroughly set. I recommend leaving it overnight before painting over the base coat, making sure to lightly dab the new layer over the last. The more pressure you apply, the more likely you are to peel away the original layer. You can achieve beautiful depth and richness with additional layers and colors, but each must be applied with considerable care and appropriate drying time between.
Hand-paint, spatter (see hints), or stencil any additional designs onto your completed and dried base coats. This is, again, where an ample helping of patience plays a pivotal role. Wait twenty-four hours to ensure all layers are fully dry.
Place jar or bottle on prepared cookie sheet and carefully slide it into an unheated oven.
Set the temperature for 350° Fahrenheit and the timer for thirty minutes.
Unless you enjoy the piercing, blaring sound of it, shut off that pesky timer, turn off the oven, and leave project and cookie sheet inside with the door open for one to two hours or until completely cooled. For safety reasons, if you have children in the house--furry or human--block off kitchen access until the oven door can be closed again.
Voilà! You now have your own custom decorative glassware for display, storage, gift-giving, or all of the above...and the Earth thanks you for one less piece of lingering litter. You may, of course, also reuse your glass jar or bottle totally clear and as is. No fuss. No mess. The Earth will still thank you...but, when it comes to the glassware itself, you'll probably smile less when you look at it.
Now, after all this talk about doing our part for the planet, about upcycling, repurposing, and creating one-of-a-kind ornamental touches, you may be tempted to shout, "Hey, just put a lid on it already!"
Thanks to Dennie, I'm perfectly content to leave you with these two words: Yeah. Okay.
HELPFUL HINTS:
Use a lidded plastic container for a paint palette, i.e., Cool Whip, margarine, etc. The plastic will clean up easier than a traditional palette, and it's another way to reduce waste by repurposing what you already have around you. Just squirt/mix your paints on the lid; place container portion upside-down over lid (like a domed cover) between coats to prevent paints from drying. Placing this in the fridge will also keep your paints fresher longer.
For spattered appearance over base coat, dip clean, dry toothbrush into paint, blotting off the excess. Aiming toward the area you want to spatter, flick bristles with finger. Repeat until you've achieved the look you want.
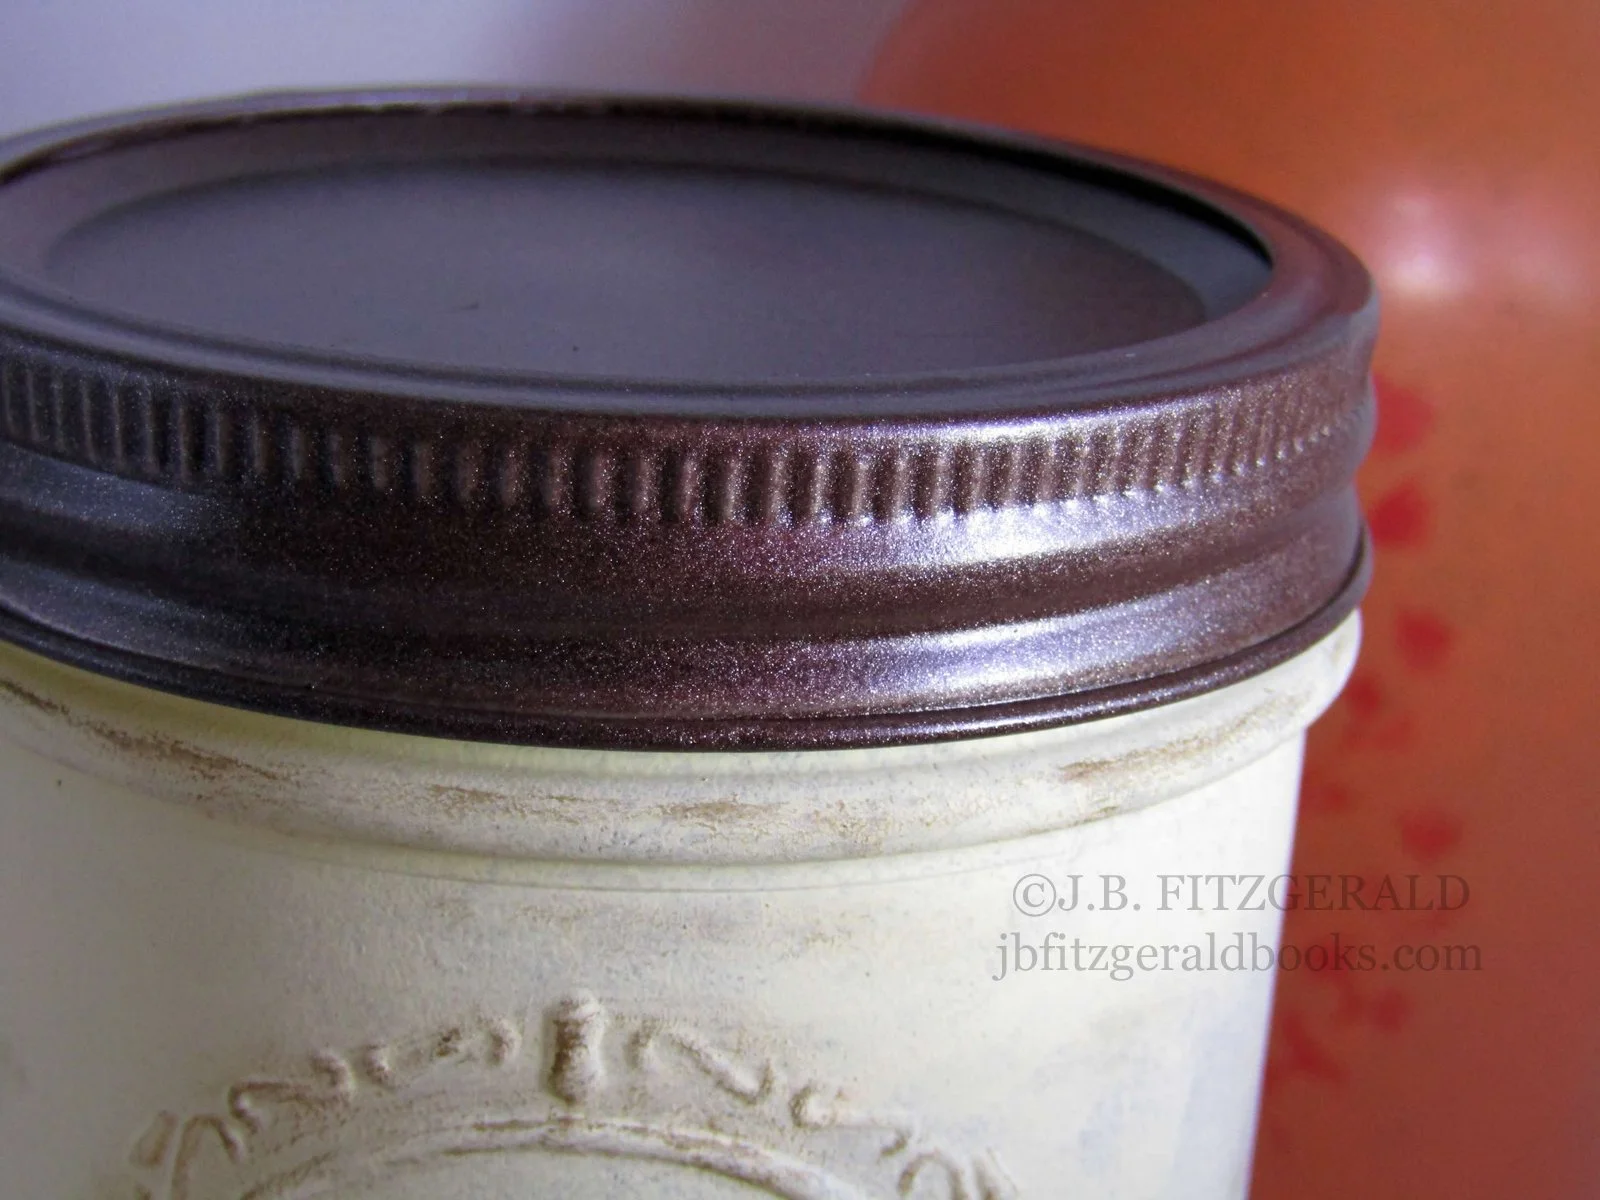
For metal lids, acrylics will ultimately chip away from handling, but a good metallic spray paint looks fantastic and will be much more durable once fully cured.
Adding hints of distressing for a vintage look, as shown on the canning jar, is surprisingly easy and kind of liberating as it requires little skill or attention to detail. Dip a flat-headed brush into paint color of your choice. Blot repeatedly on dry towel until only faint traces of paint appear on the towel. This is a dry-brush technique and only the lightest whisper of color is needed on your brush. Lightly swipe brush over areas where you want the distressing to appear. This can be done on smooth surfaces too, but it looks especially nice on embossed jars. Don't worry about an even application. Natural aging doesn't look perfect, so be as imperfect as you can be, sticking to exposed areas most likely to be affected by age and elements. It's more fun to just let your brush swipe freely, and the end result will look more authentic too.